The finished repair!
A snap broke on one of my Rumparooz diapers - the cute, kangaroo one, too! Pricing snap pliers and a bag of replacement snaps revealed that it'd cost just as much to replace one snap as to buy a new diaper, a fancy one at that. Since I'd gotten this Rumparooz diaper for free from Freecycle, I didn't think it made sense to spend all that cash on replacement parts and gear.
I had a FuzziBunz diaper in my sewing box that I had received as part of a lot on eBay that had delaminated. The seller hadn't realized it and refunded me. So that diaper was free as well, and I kept it around for parts. It came in handy here.
The top right snap on the kangaroo diaper was held on by clear tape so it wouldn't get lost.
I needed the snap from the delaminated FuzziBunz diaper to use on the Rumparooz diaper. So, after some internal convincing (should I use it for a swim diaper? what if I need both parts of the snap one day? can I cut into a cloth diaper? etc.), I took the plunge.
First, I peeled out all the PUL I could. Then I cut away the fleece, thinking I may want to have it for some future purpose, like a liner.
Then I cut off the tab where the snap was.
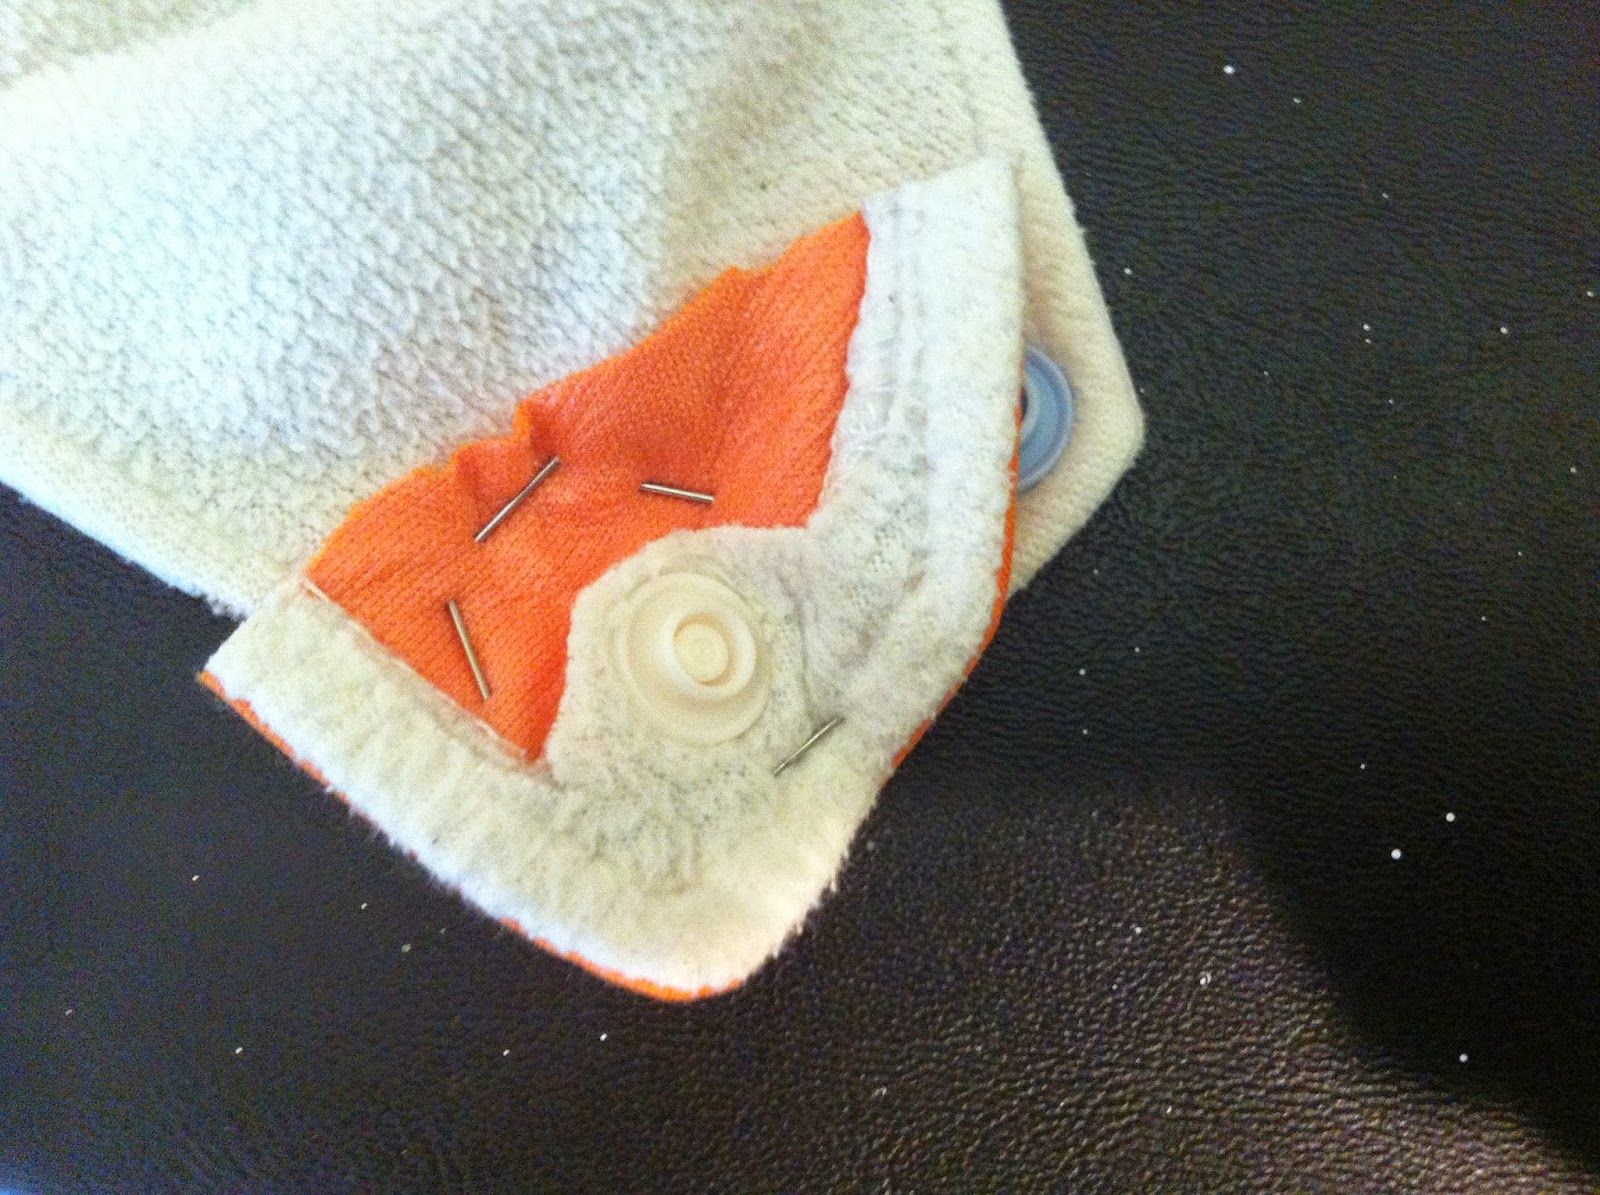
Next, I pinned the good snap to the underside of the diaper that needed the snap.
I pinned in a circle to make it easier for my sewing machine.
Alas, all attempts at sewing on the machine failed. The other snap was too close to the sewing area. And I needed to sew very close to this snap. The sewing foot just didn't have enough room. So I hand stitched around the snap.
I went around twice for good measure. If this snap is going to be pulled on daily, it needs to stay in place.
To finish my snap replacement, I cut away the extra fabric from my replacement snap.
Now to make it look like I didn't repair anything!
I wanted to use the broken snap on the front of the diaper so all the snaps would still match.
Unfortunately, the underside of the snap head still had a pin sticking out of it that made the head not sit flat on the diaper. I used wire cutters to snip off as much as I could.
But the wire cutters didn't snip off enough. So I used a nail file to get the pin really flattened down.
Next, I used Super Glue to attach the snap head to the diaper. I filled the snap with all the glue I thought it would hold, and then carefully, making sure to keep the kangaroo in the appropriate position, placed the snap onto the diaper, trying to center it in my newly sewn circle.
Et voila! Looks pretty good. The brown kangaroo there likes it, I think. He looks excited. If you look closely, you'll notice the stitch line around the snap.
You can tell from the top view that the replaced snap is a little higher off the diaper than the others, which makes sense because there are actually two snap heads, but I think the repair turned out great. I'm so glad to be able to use this diaper again. I like the Rumparooz brand because of the inner gussets, and this kangaroo one is so happy!
Make it Better
Have you repaired a cloth diaper by salvaging a snap from an old or delaminated diaper? How did you do it? How did the repair turn out? How would you improve this repair?


